# Windows Installation
TIP
If you haven't received your download link, or need it resent, please email our support team.
WARNING
Before installing, ensure you meet the minimum system requirements.
Download Nimbus from the link sent to your email address.
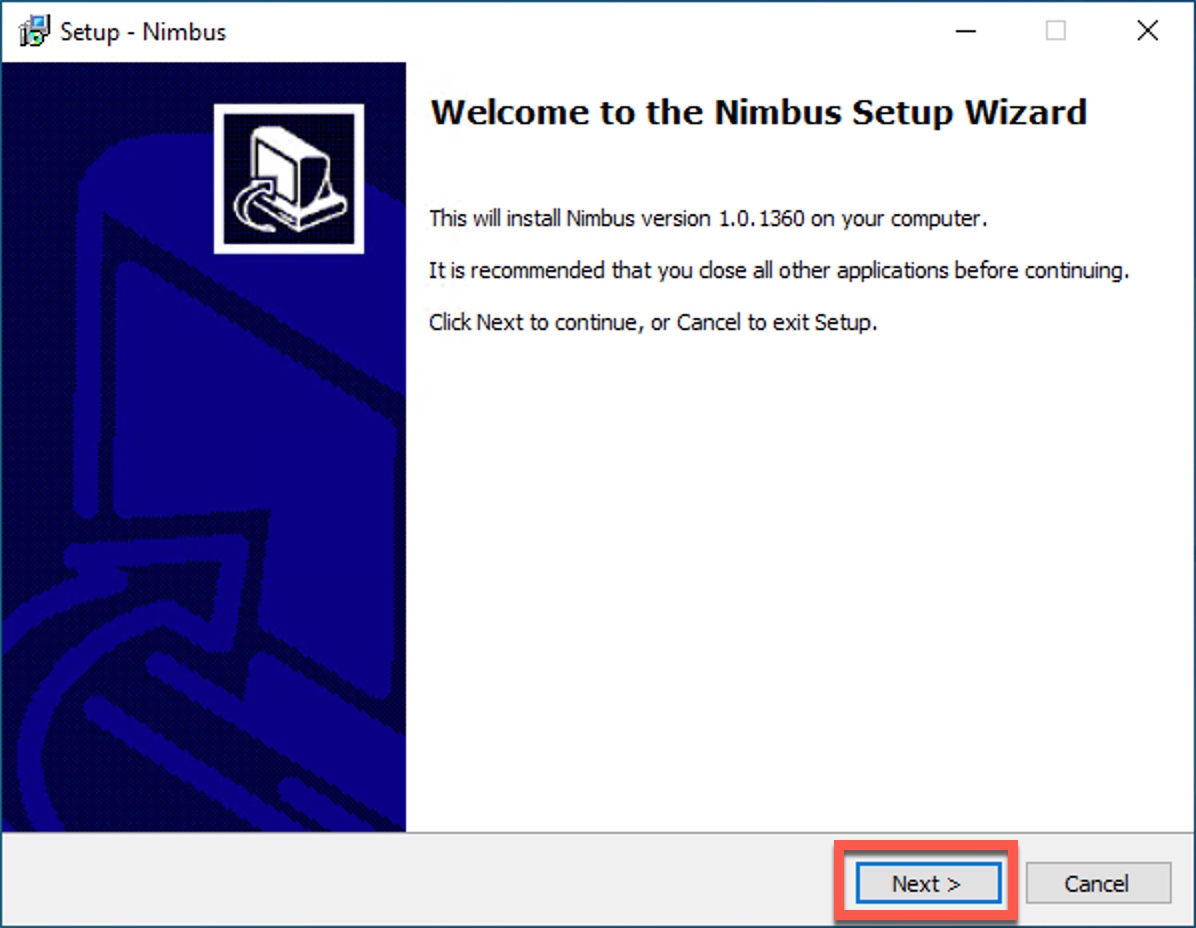
Launch the installer (Nimbus_Installer_vX.X.XXXX.exe)
Click Next
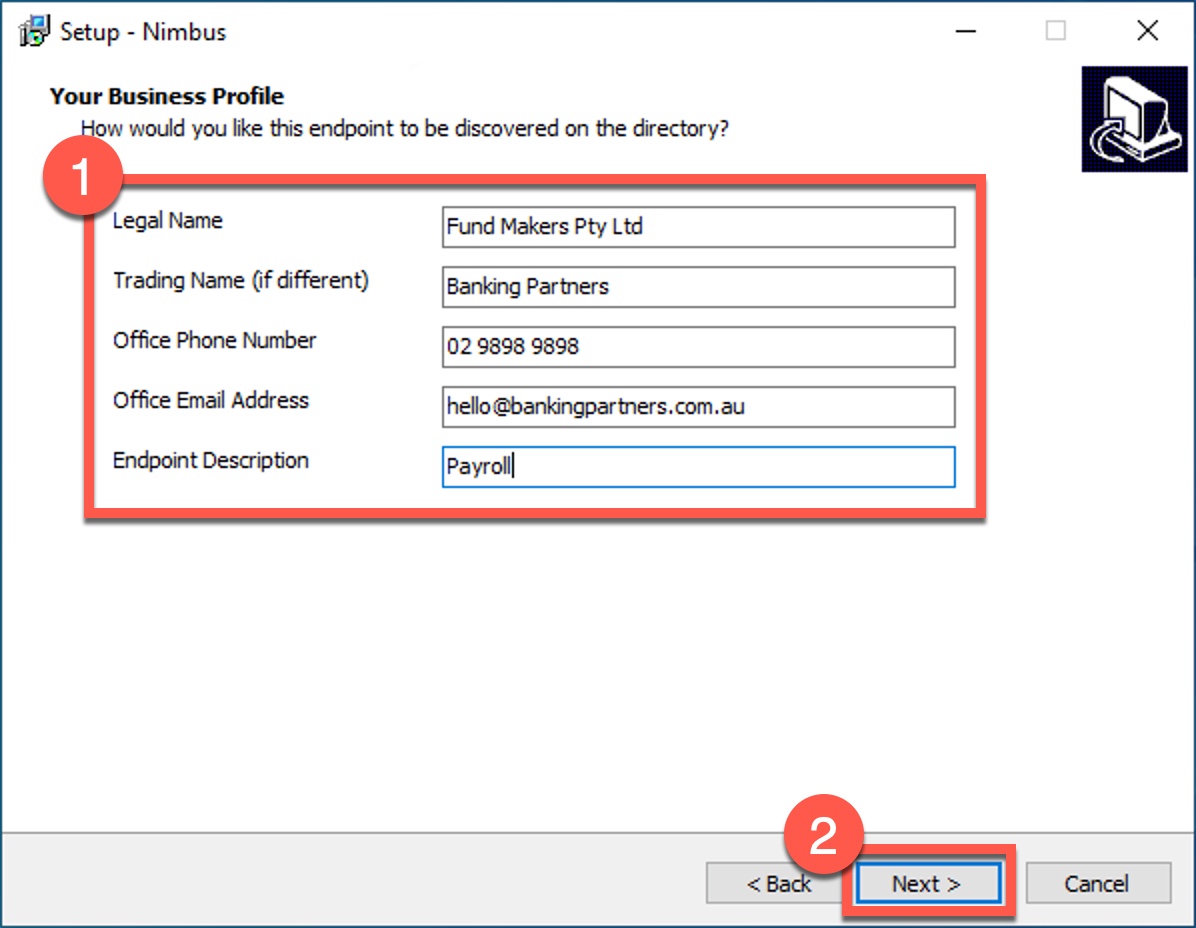
Enter the details about your business as requested. These details ARE published on the public directory.
- Legal Name: The legal entity name of you or your business. Then click Next.
- Trading Name: If you trade under a different name, or would like to be known as a different name, enter this here
- Office Phone Number: The phone number of your office. In case a sender is unable to contact you, this is the number that is provided to reach you on.
- Office Email Address: Similar to the above, but for email.
- Endpoint Description: The name of your server of workstation. This could be changed to describe a system (eg Payroll etc.), or be blanked out entirely.
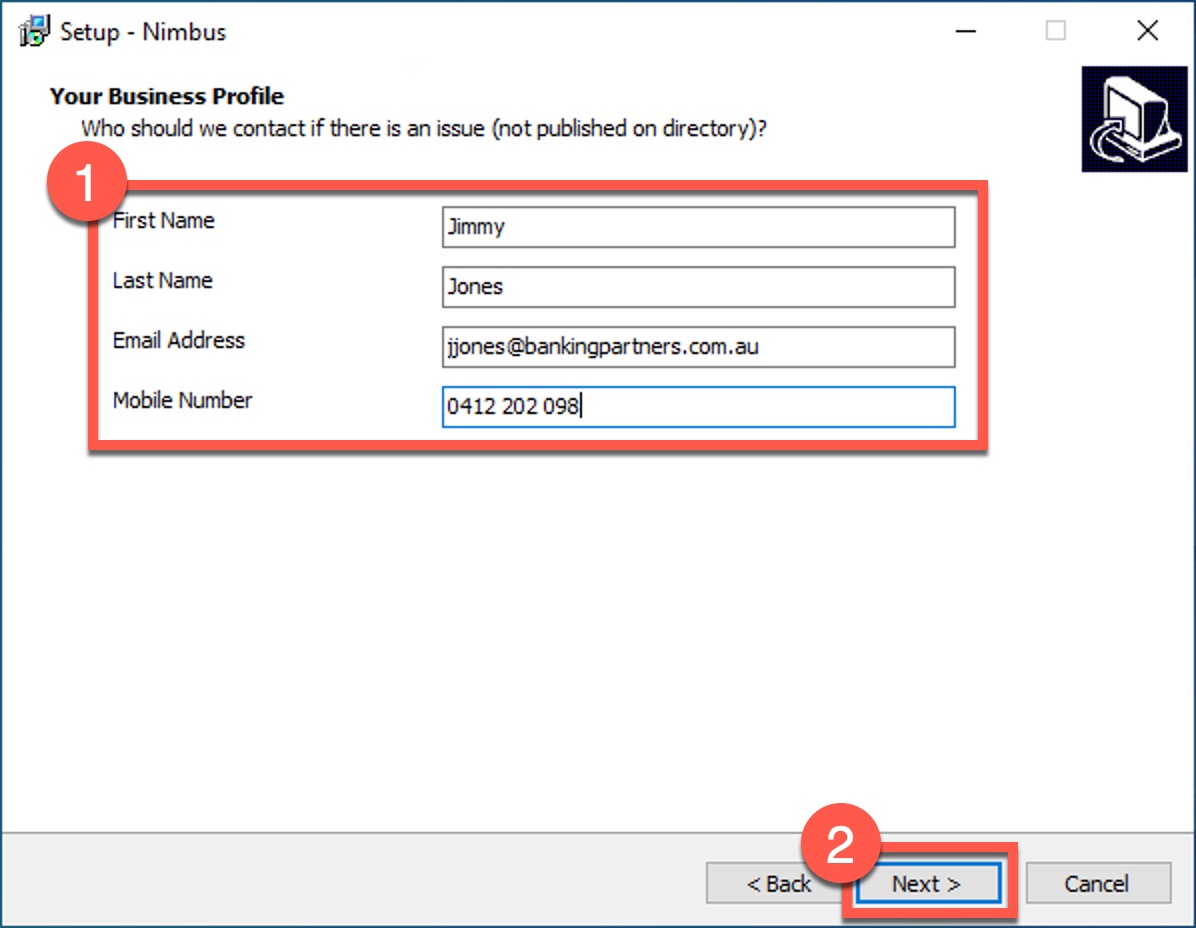
- Enter the name and contact details of whom we should contact if we detect an issue with your installation. These details ARE NOT published on the directory and are only used by the Nimbus support team. Then click Next.
- First Name: First\Given name of the main contact
- Last Name: Last\Surname of the main contact
- Email Address: Direct email address for the main contact
- Mobile Number: Mobile number for the main contact
- Leave the storage location set to "Use Default Storage Location (recommended), and click Next.

WARNING
Nimbus installs a Microsoft SQL Express instance for its internal storage. If you would like to co-locate the Nimbus database on an alternate Microsoft SQL Server, select "Use Pre-Existing Microsoft SQL Server", then click Next. You will be prompted for the Server Name, Username, Password and Database Name to use. The SQL user account and (a blank) database must already exist, additionally the user must have DBO on the specified database. This option is only suggested in consultation with our support team to ensure you have considered all the implications of using this option. After clicking Next on the server settings screen, the installation will continue as normal.
- Unless required, leave the install path as is and click Next.
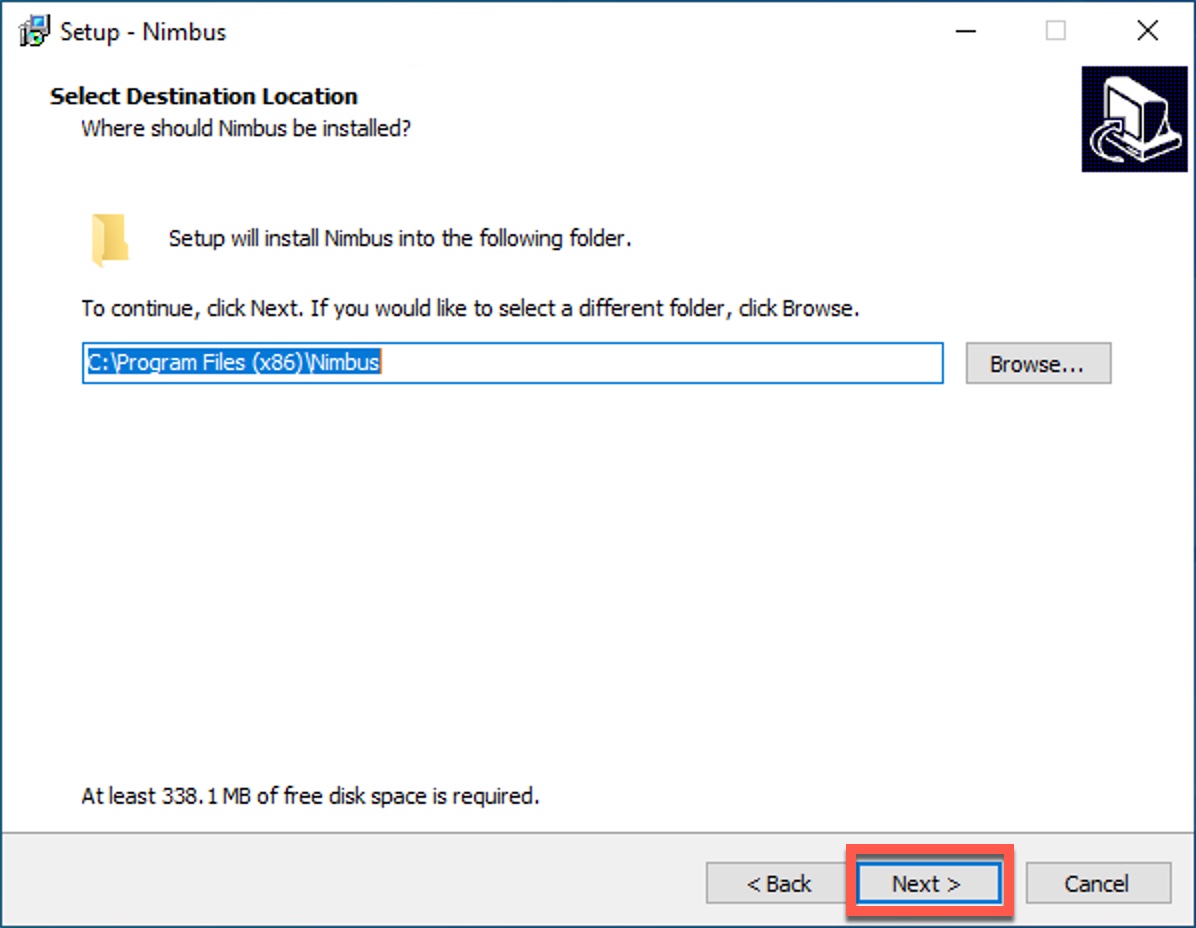
TIP
If you are prompted with a message stating the folder already exists, click Yes to continue.
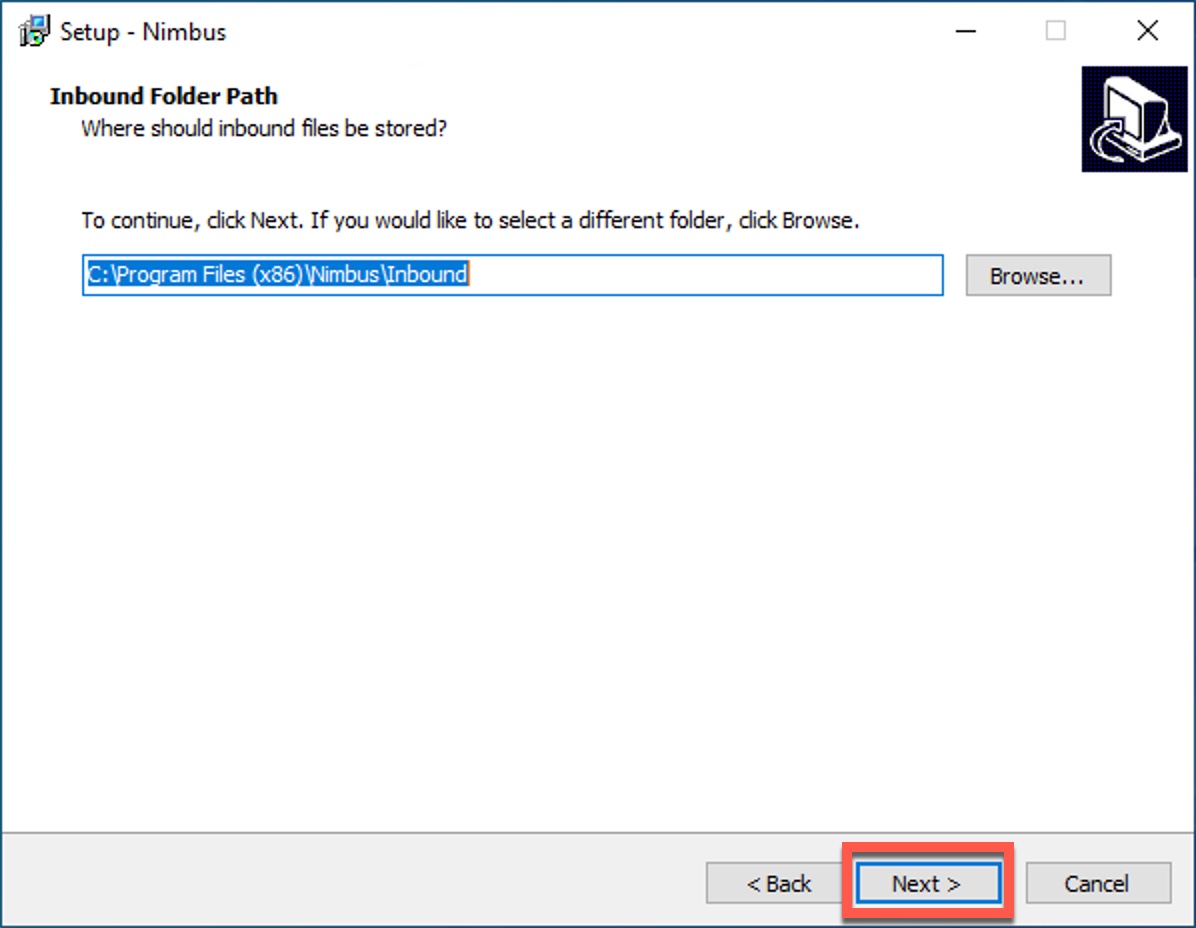
- Leave the Inbound Folder Path (this is where Nimbus will place your received files) as is, then click Next. Note, this path can be changed later if required.
- Leave the Outbound Folder Path (this is where Nimbus will pickup files to be sent) as is, then click Next. Note, this path can be changed later if required.

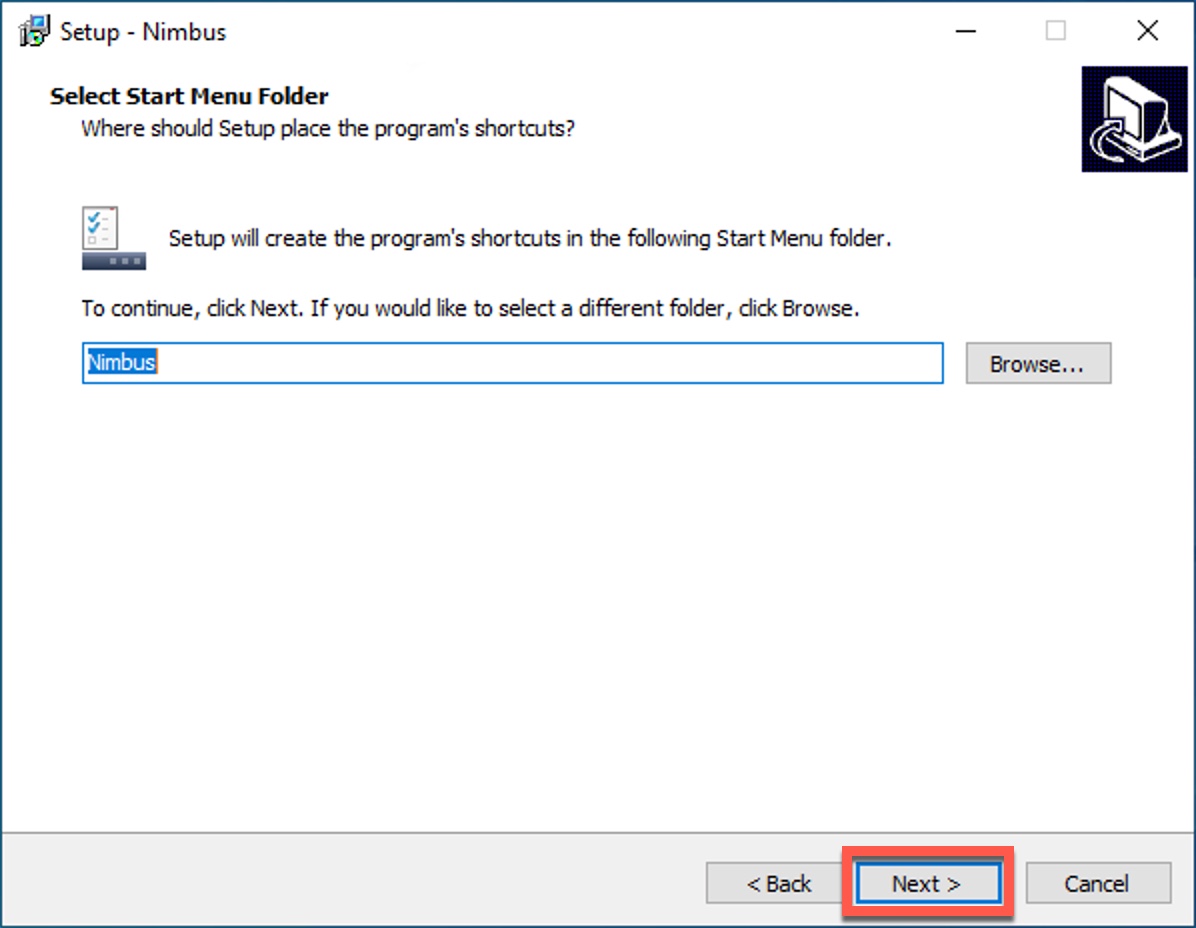
- Leave the start menu folder name as is, then click Next.
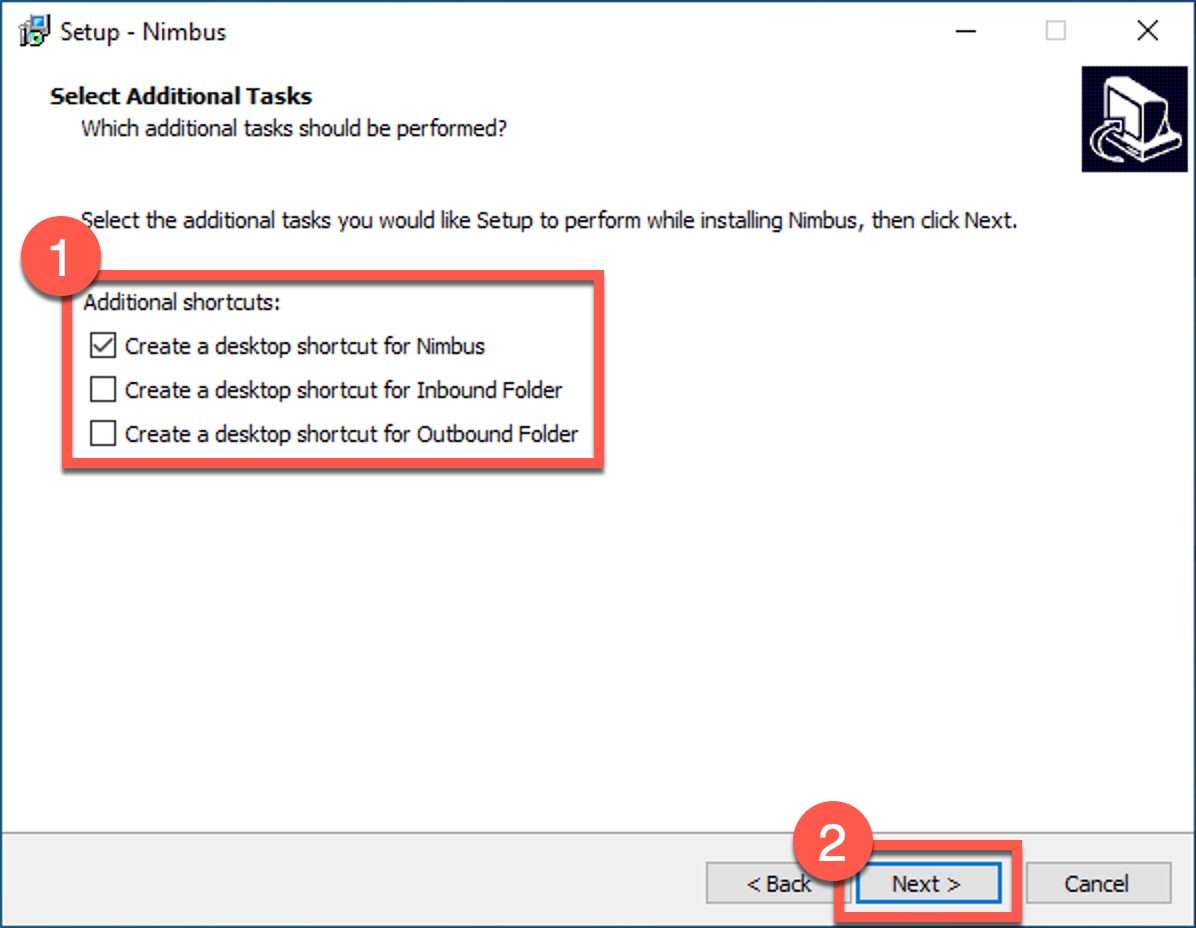
- Select the desktop shortcuts you would like created, then click Next.
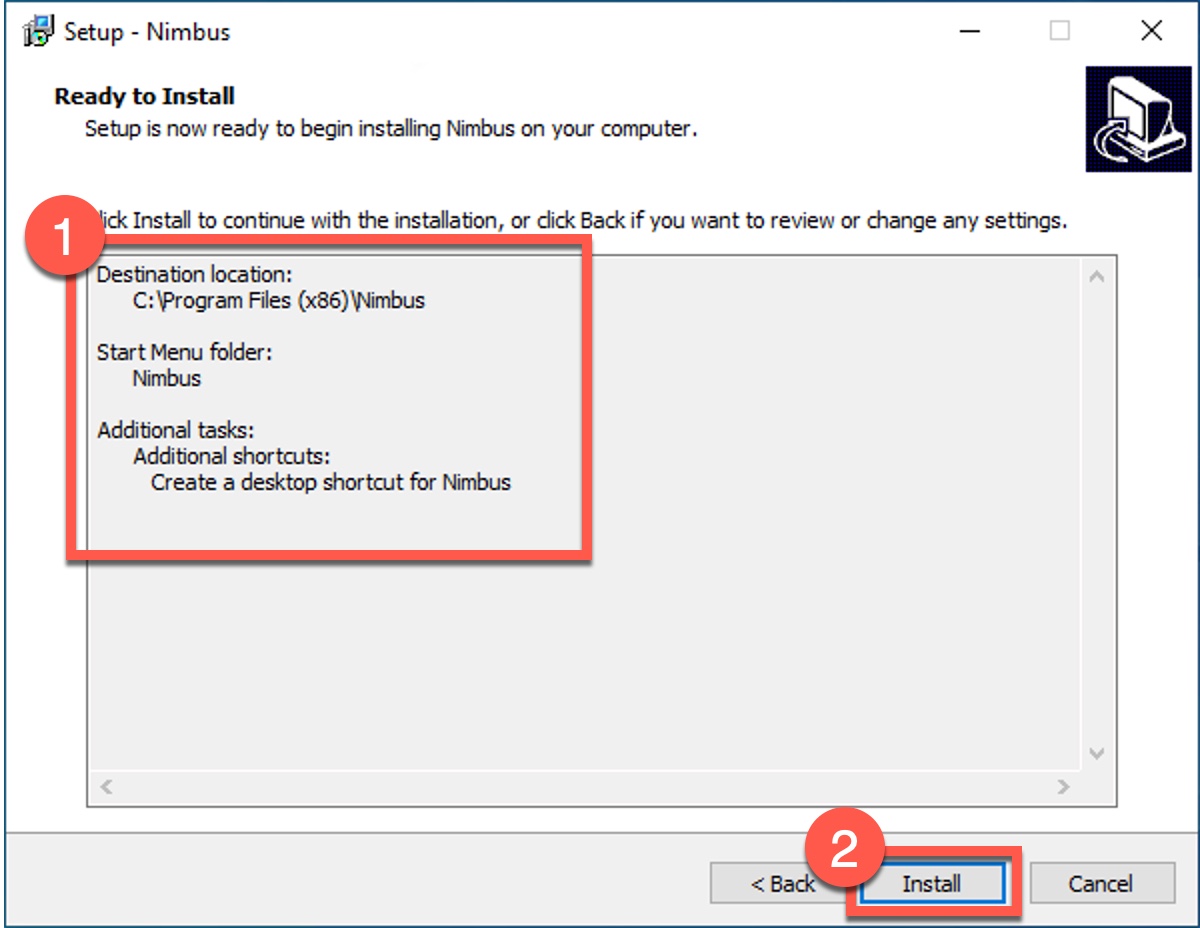
- Review the installation summary, then click Install.
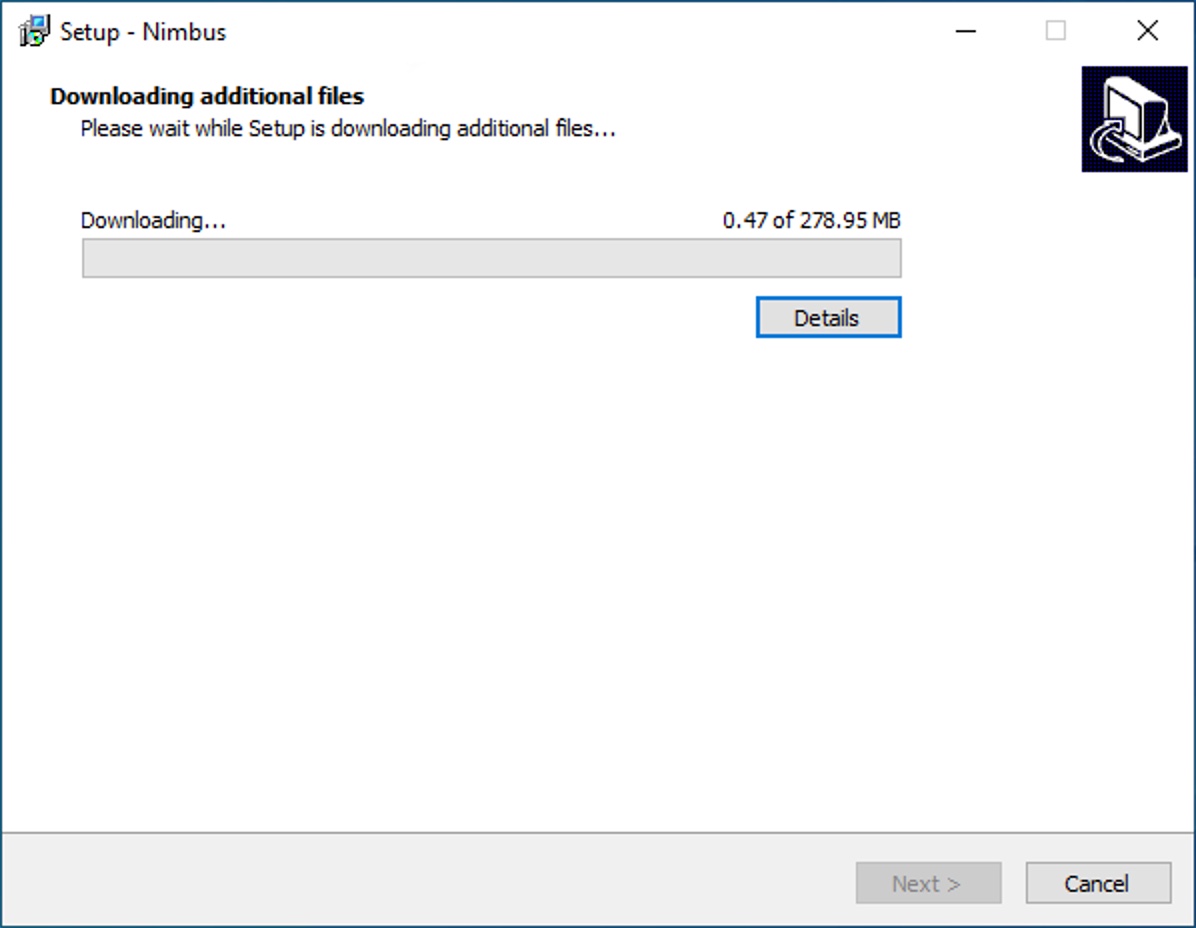
- If you selected the reccomended option of "Use Default Storage Location" in step 6, the installer will now download the files for Microsoft SQL Server.
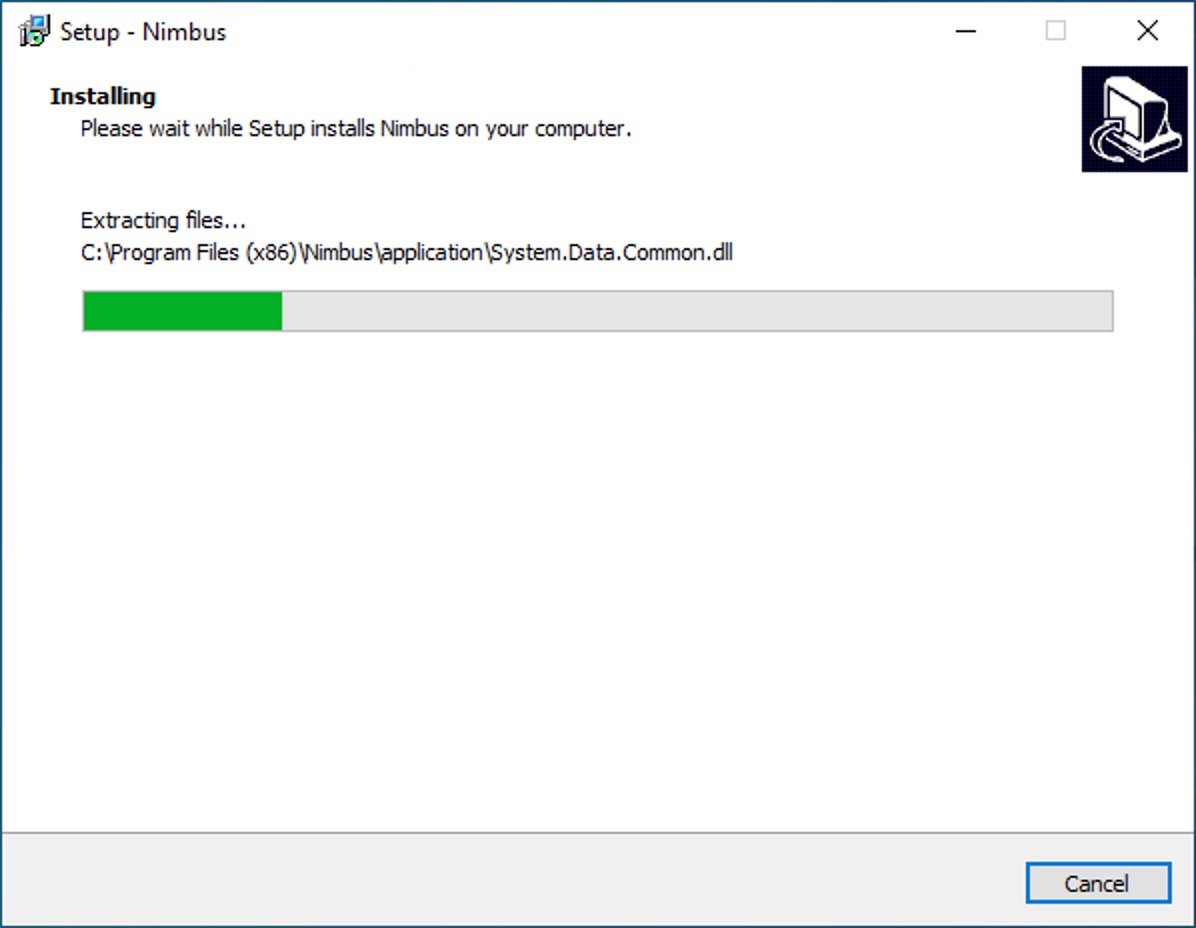
- The installer is now installing Nimbus. This process will take up to 60 minutes.
- If you selected the reccomended option of "Use Default Storage Location" in step 6, the installer will now install Microsoft SQL Server. This may take up to 1 hour.
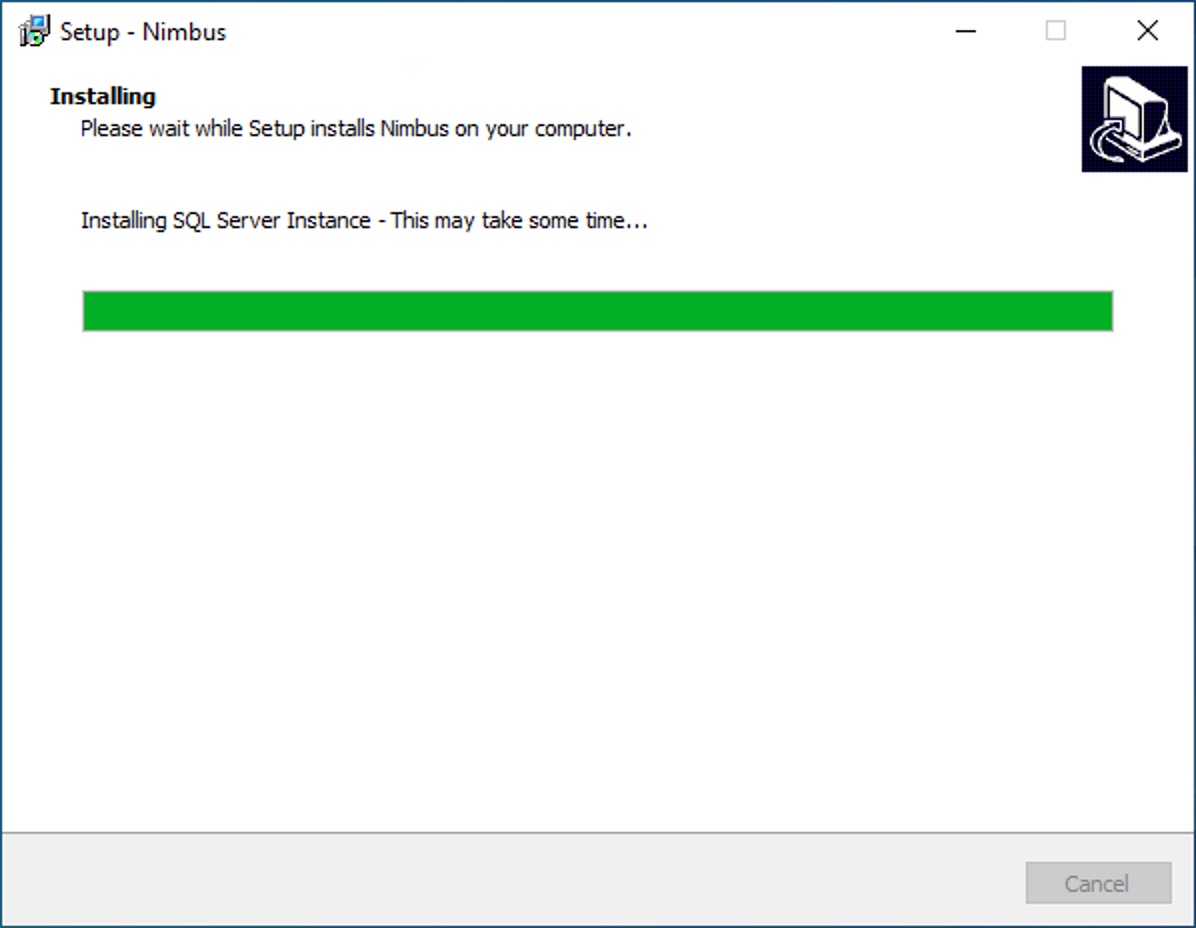
WARNING
Multiple windows relating to the installation of Microsoft SQL Server may appear during the installation process. Do not close these windows, the installation process will close them when they are complete.
- Click Finish.
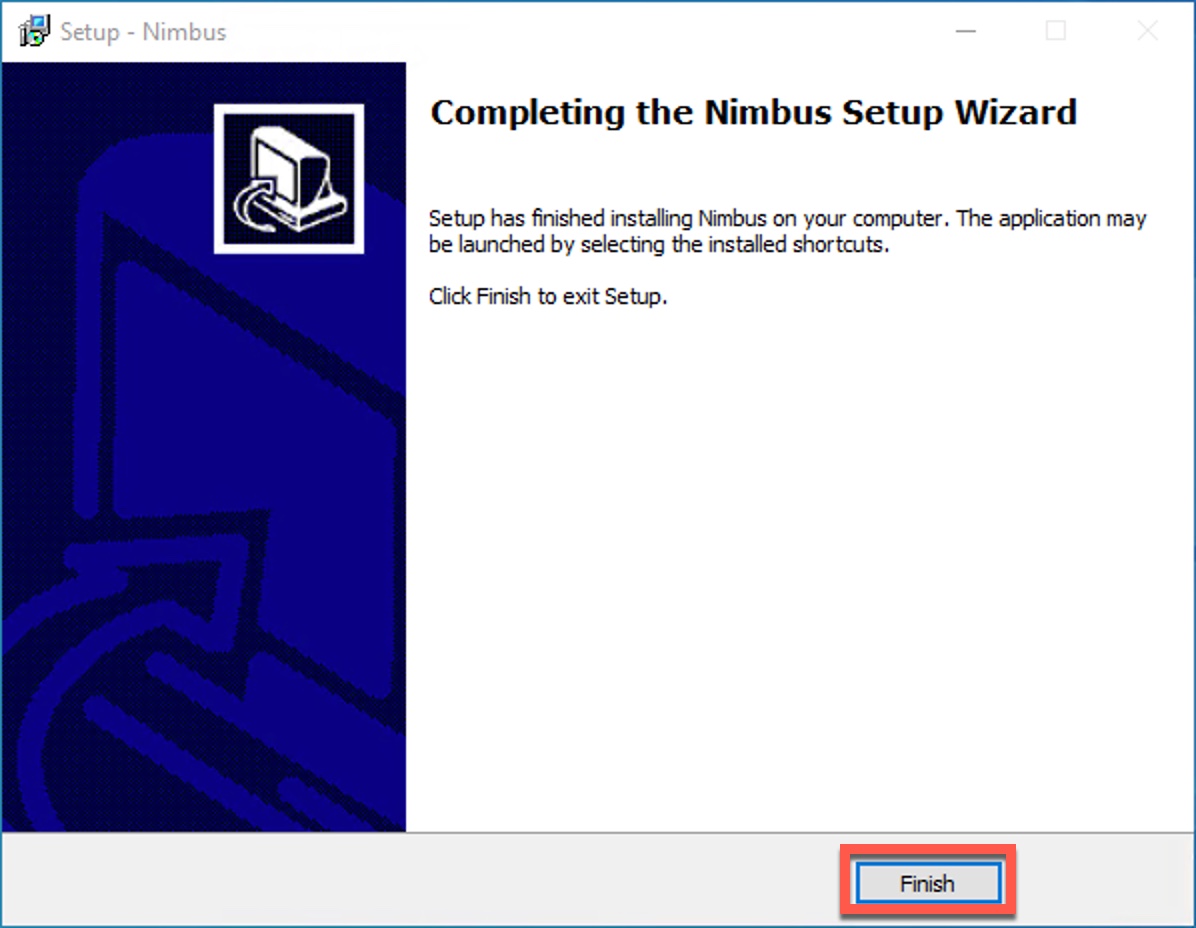
Reboot the computer
Click Finish